Urban Gardening Project: How To Grow A Mini Patio Orchard
Note: Last year, we received several trees and seeds as a gift from D.T. Brown and Mr Fothergill’s, supporting our urban gardening project.

As you might know, last year we tried to grow enough food to last us for the summer. It was a big goal, and it didn’t quite go to plan, but we learned so much in the process. This year we wanted to grow more fruit that required less work.
With this in mind, we wanted to put together a mini orchard, a collection of fruit trees that would not only bring in pollinators to the garden (which is very important), but also give a bountiful harvests of fruit in the summer. We started by researching a variety of fruit trees that could grow in pots and work in the London micro-climate (not too many winter frosts), we came up with pears, plums and traditional British fruits. We mostly went for patio varieties, because after all, our small urban garden doesn’t have any open ground for us to put the trees in. Patio trees are often productive and hold lots of fruit, ideal for our mini-orchard. The trees are grafted onto different rootstocks which means that often they won’t grow above 1.8 or 6ft. Perfect for smaller spaces or even balconies.
Patio Trees - Perfect for smaller gardens and pots
Patio Pear Conference - I love pears, and we loved the idea of growing our own.
Sibley's Patio Quince - We have a lot of rhubarb in the garden, and stewed quince/apple and rhubarb makes a great breakfast.
Sibley's Patio Cherry Hartland - Everyone loves cherries; a cherry tree is a must!
Patio Plum Victoria - Plums are good all-rounders. You can eat them fresh or cooked.
We felt like the above was a good mix of mid-to-late-season fruiting, with pear and quince arriving at the end of the growing season. Our focus is on making these trees as productive as possible in a small space. Giving them a good start to their lives, allowing them to fruit properly from next year onwards.
In addition to this, we also planted other trees, which might not be suited for small urban gardens, but we wanted to see how they would fare in larger pots, some up to 60cm wide.
Larger Trees - Ideal where more space is available
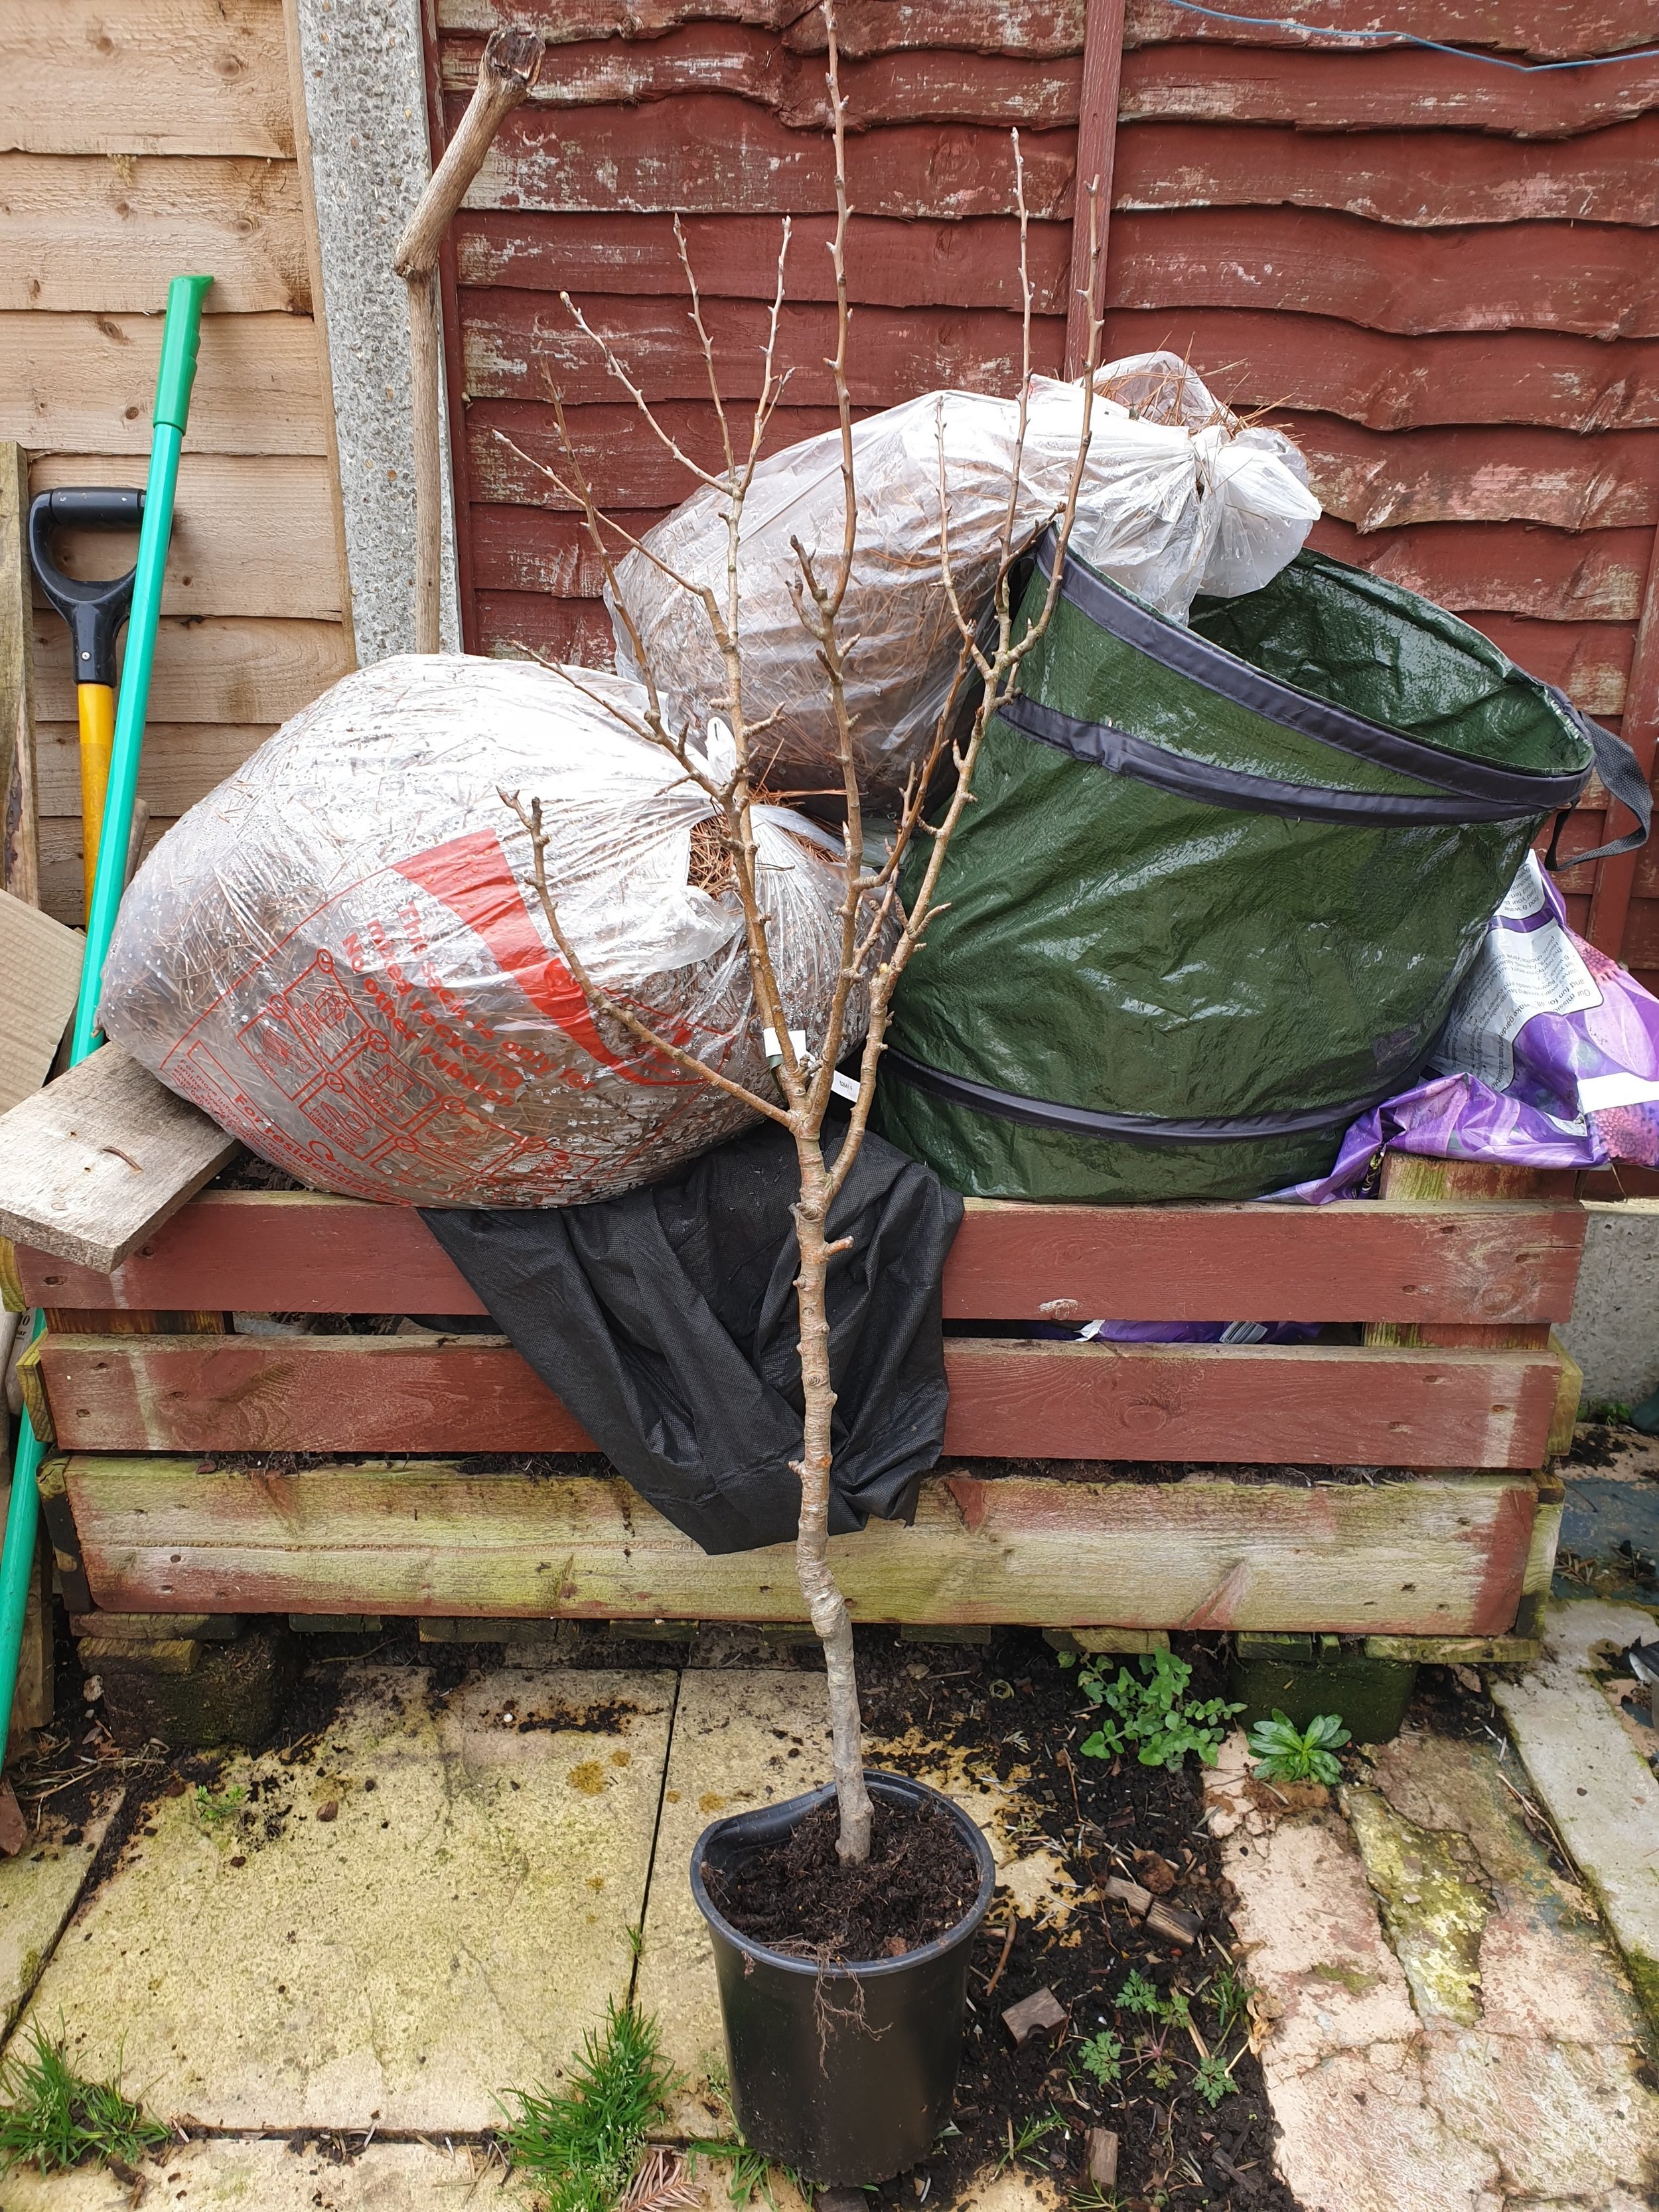
The following arrived are bare-root trees. We placed our order in the winter, when these each of the below arrived very well packaged.
Plum Opal - We wanted to provide a cross-pollination partner for the already self-fertile patio plum. Yields generally increase with cross-pollination.
Gage Reine Claude Oullins - A green/yellow gage to partner the purple/red plums.
Walnut Europa - A much smaller variety of the mighty walnut tree, which fruits in only a couple of years.
Red Filbert - A red version of the filbert (hazelnut) tree. The nuts are red, too!
With these larger trees, our aim is to experiment, to see how productive they can be in large pots in a garden, especially when compared to the trees designed specifically for patios. In addition to this, if we move to a larger garden, we can plant these trees in the ground, without having to wait a few years for them to fruit as they’ll be older and more mature.
We know that the smaller trees will likely fruit first as they’re better suited, but we’re excited to try new types of fruits and nuts.
Potting Patio Trees
There is a lot of information on the internet about potting patio trees, but I wanted to present you with some straight-forward, easy-to-digest information.
Your tree will likely arrive in the autumn/winter in a semi/dormant state. This is better for the tree as there’s less shock when moving around (they are sensitive beings)! You might be able to buy them in the summer, too.
Remove all packaging and check for any broken branches - remove these.
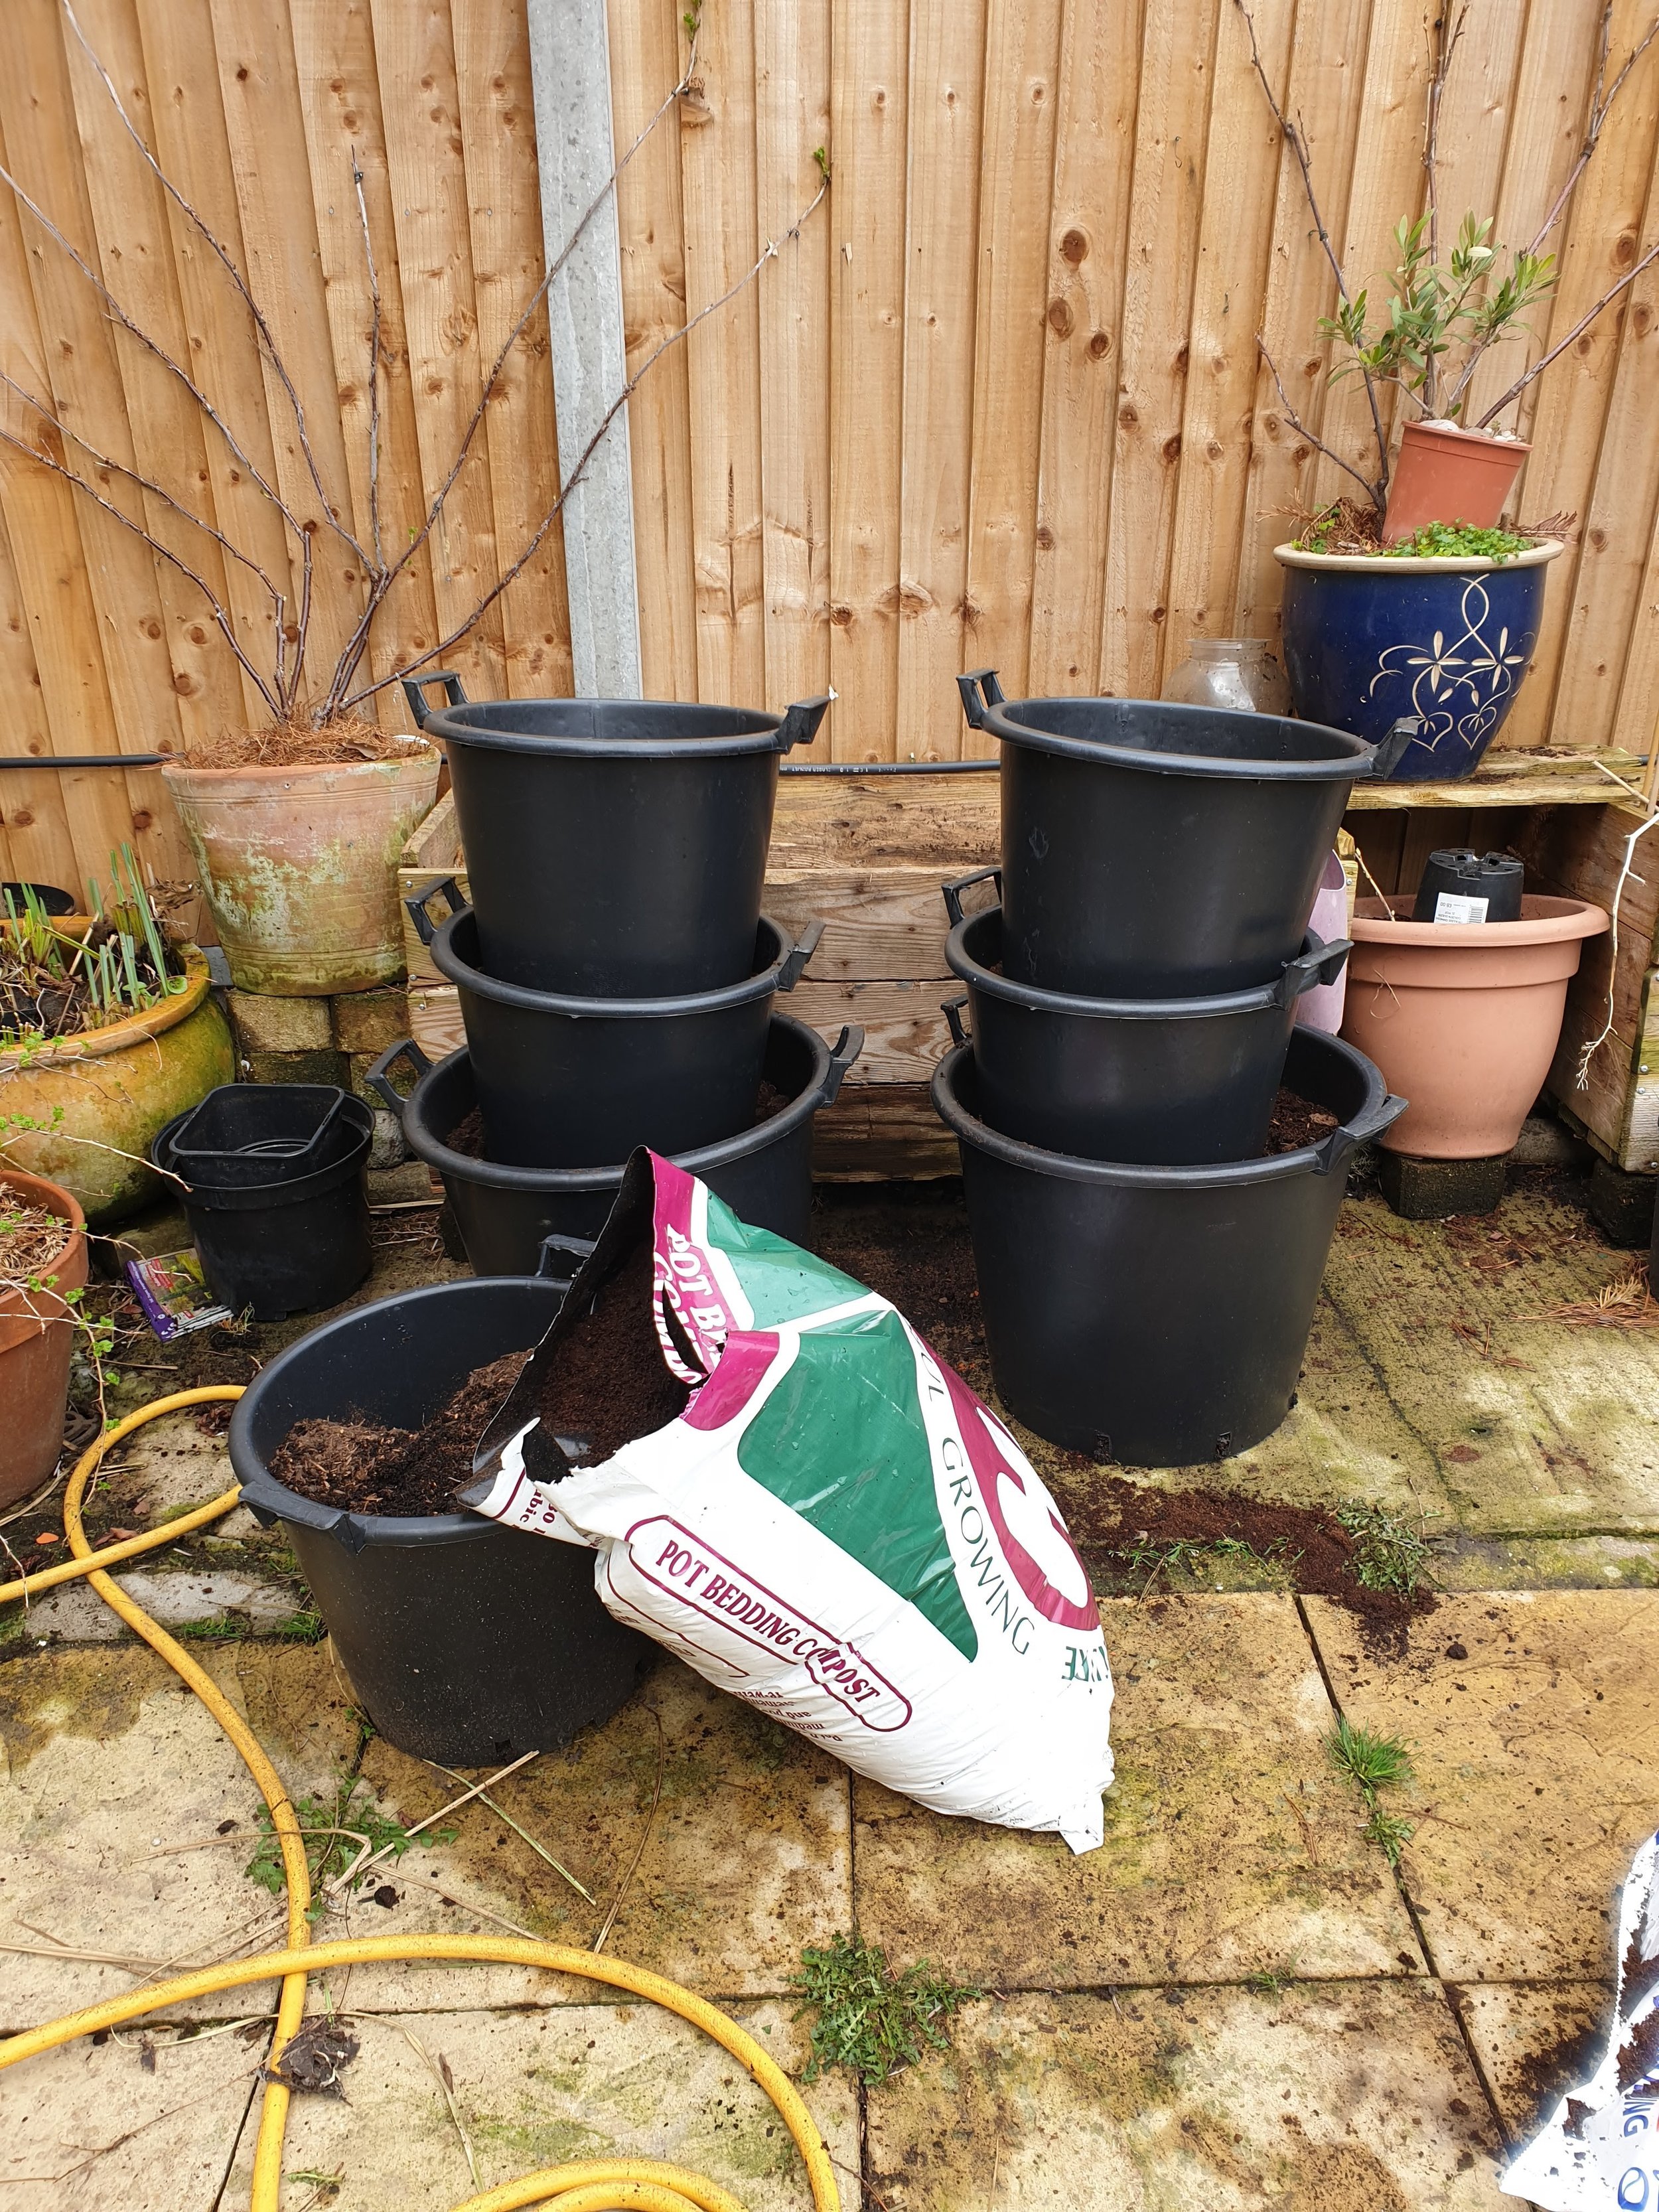
Prepare a pot, ideally 40cm+ in diameter; this gives your patio tree plenty of room. Originally, I wanted to use only terracotta in our garden; however, this fast proved to be an expensive option, so I opted for a durable, frost- and UV- resistant pot that I was given from my father-in-law. I tried for about two years to not use plastic in our garden, but the use of these pots drastically brings your project costs down - an important factor for a casual gardener. In addition to this, I predict I’ll get at least 10 years’ worth of use from these plastic pots and, worst case, if I no longer need them, I can always give them back. Make sure your pot has drainage; if the holes are small, you can add rocks or broken crockery to the bottom of your pot, providing a layer between the soil and the exit drainage hole(s).
Add your compost mix into the pot. I used a mixture of all-purpose compost. Add until about halfway up the pot.
Remove the bag/pot that your tree arrived in, but don’t remove the soil around the rootball. ‘Fluff’ up the rootball just a little, releasing some of the restricted roots, you can do this with a trough or even your fingers. We are aiming to make it lose the ‘potted’ shape it might have from being in a pot.
Place the tree firmly in the centre of the new large pot.
Add more soil/compost around the sides of the tree’s rootball. Build this up until it is level with the existing soil line that your tree arrived with.
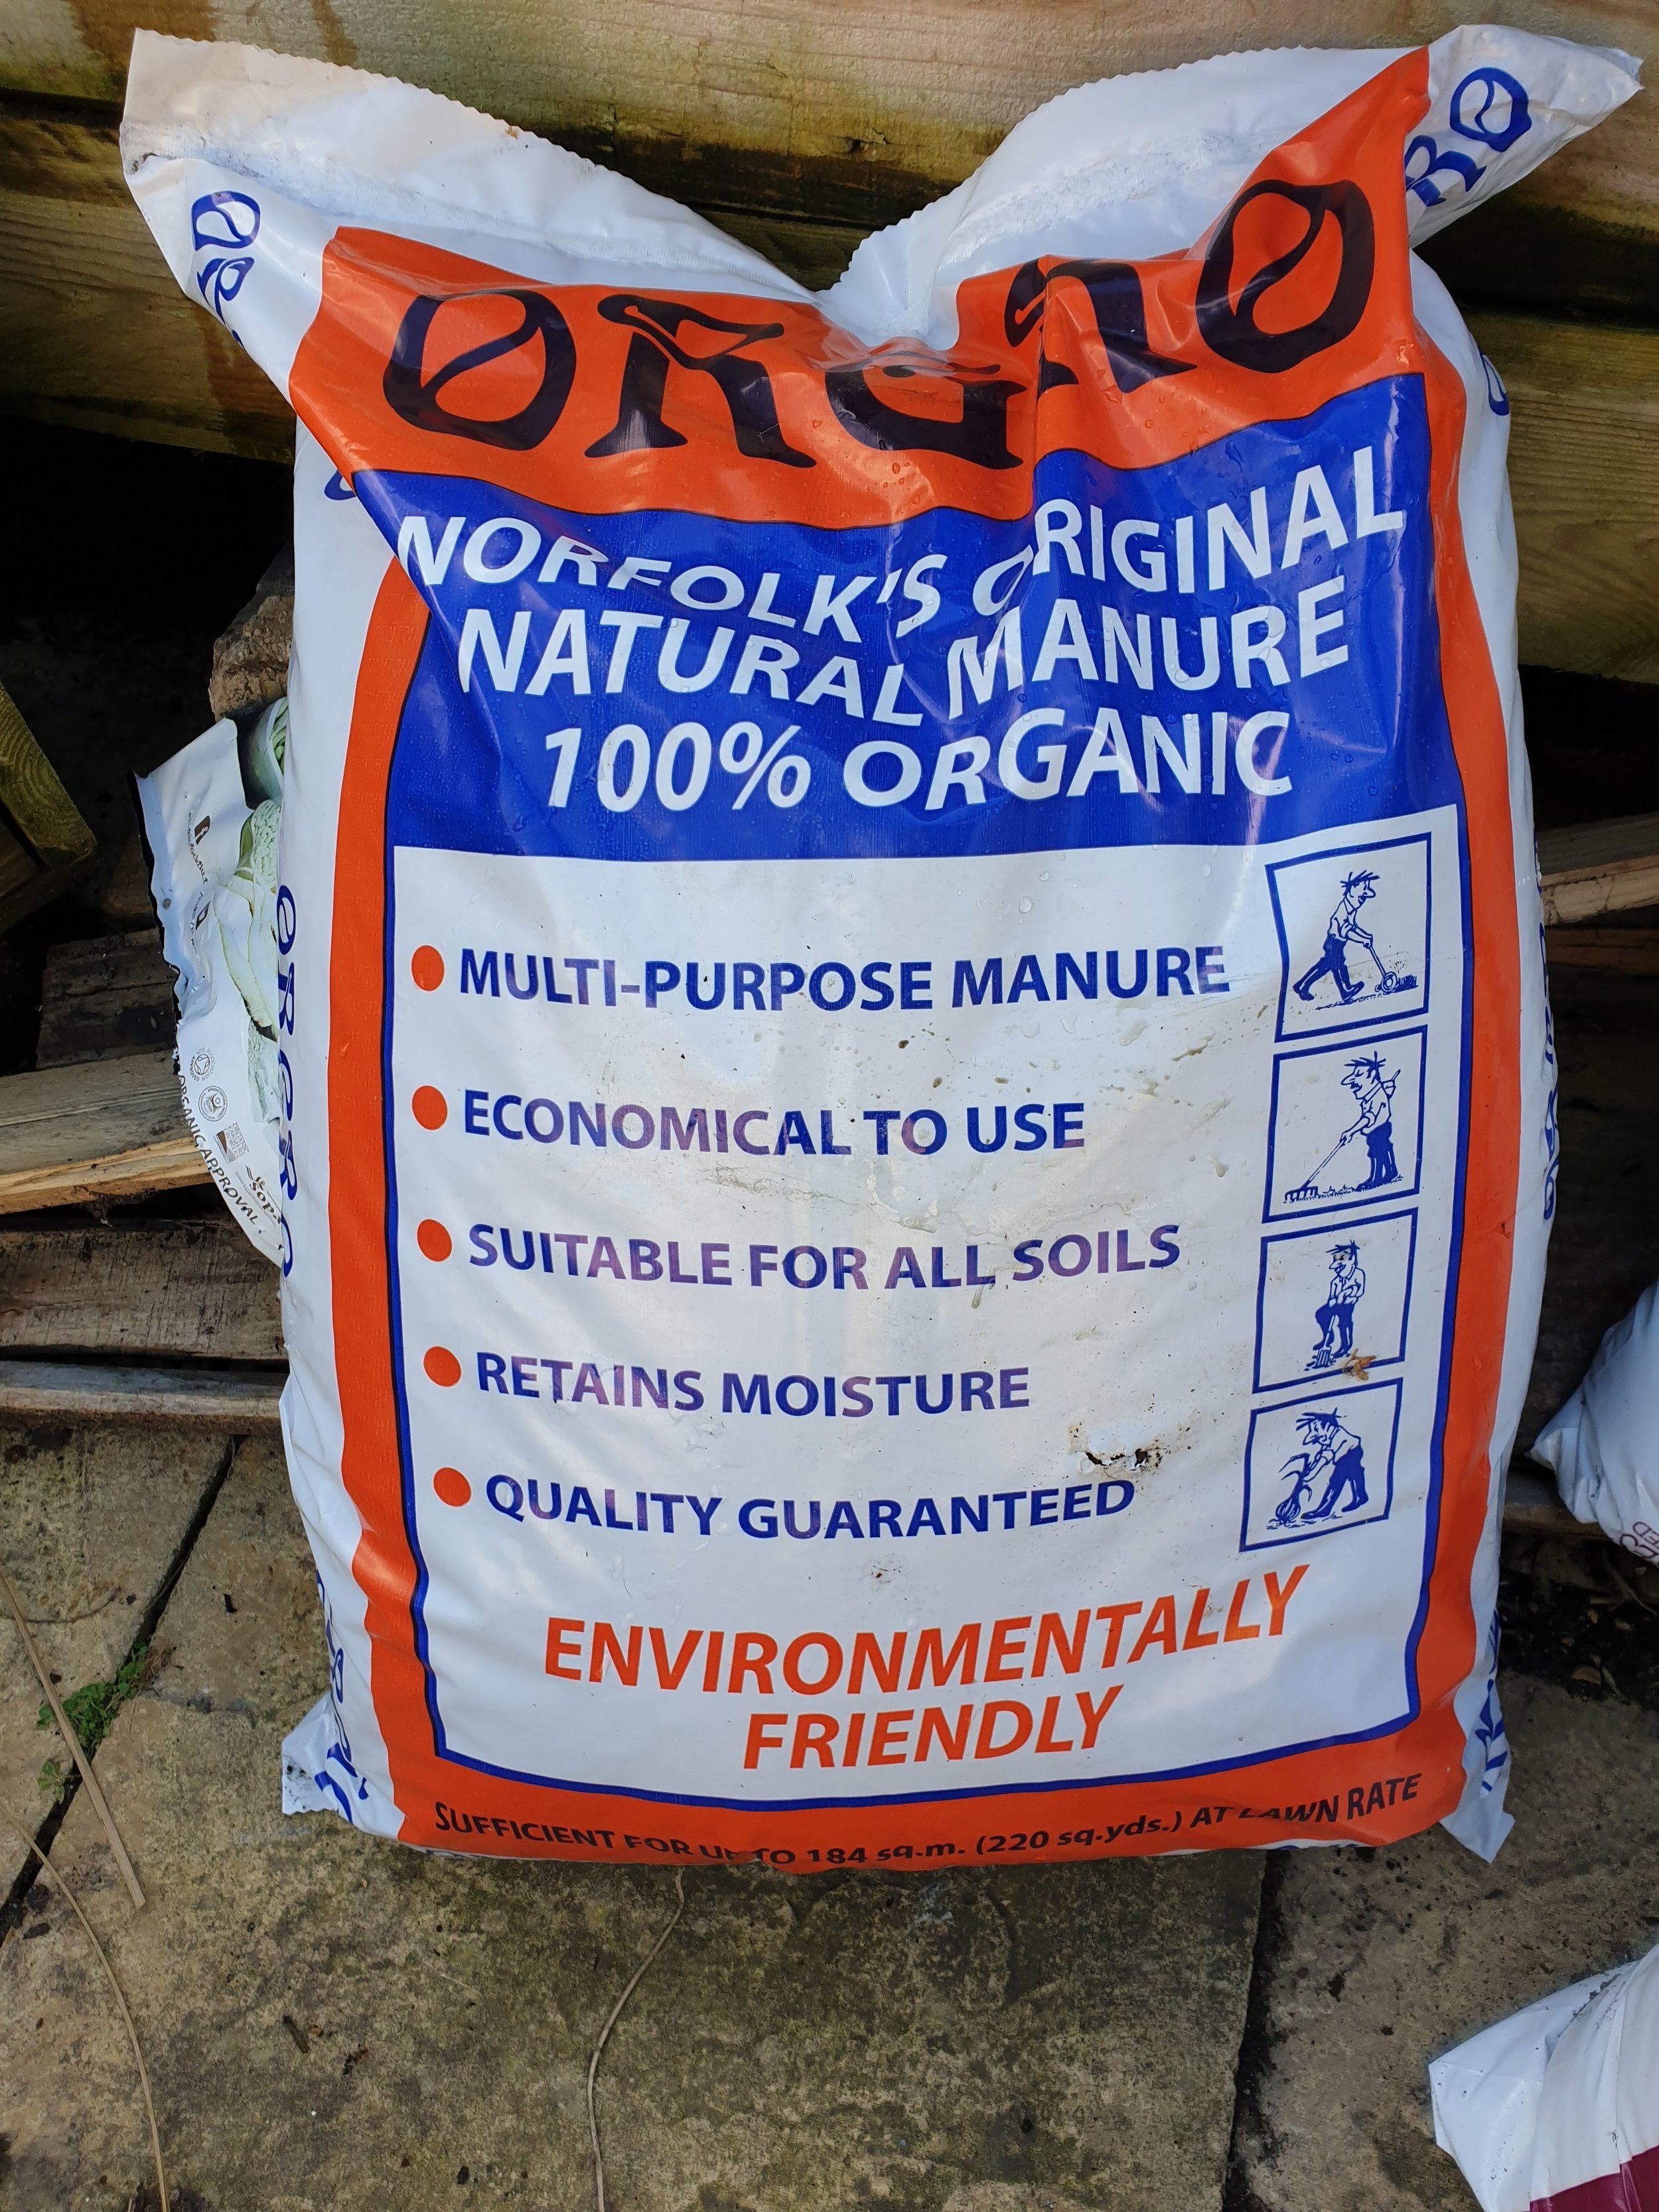
Add manure or other fertiliser to the top of the soil. This is a great slow injection of nutrients for your patio plant. It is important to add this to the top and not to the roots, as manure can burn the roots.
Where possible, add some kind of mulch on top of the manure - here’s some info on mulching for blueberries and what it’s important. This makes a huge difference with weeds and water-needs. Your mulch can be old pine needles (from your local park), old flower heads, old leaves, or anything else organic. In the past we’ve used needles and branches from our Christmas tree.
Now comes probably the most important part. Water your tree, thoroughly. It’s been in the mail or in transit for a few days and needs a good drink. Fill the pot up with water until it is freely running out from the bottom.
Below: Organic manure for adding an extra boost. My collection of patio-tree pots. D.T. Brown’s Patio Conference pear tree.
Growth & Maintenance
So how did I look after these trees once planted? To be honest, I didn’t do anything special. After mulching, I put them on the back of the wall and left them there the whole time. Peppe set up an automatic watering system, which kicked in for the summer months; more on this can be read here. Other than that, no additional work was done on the patio trees.
The non-patio trees are quite vigorous and grow fast, so I have had to prune some of them (prune your stone-fruit in summer rather than spring to prevent any infections taking hold of the tree). Overall, all the trees are growing really well and are happy. They receive 8 hours+ of light in the summer because they’re elevated in the back of our garden, so the fences don’t restrict their sunlight intake. They haven’t caused any problems and look great!

The ‘urban orchard’ site in our small London garden. The trees are in pots elevated on a small shelf at the back of the fence. This photo was taken in winter.
Expectations: In for the long haul
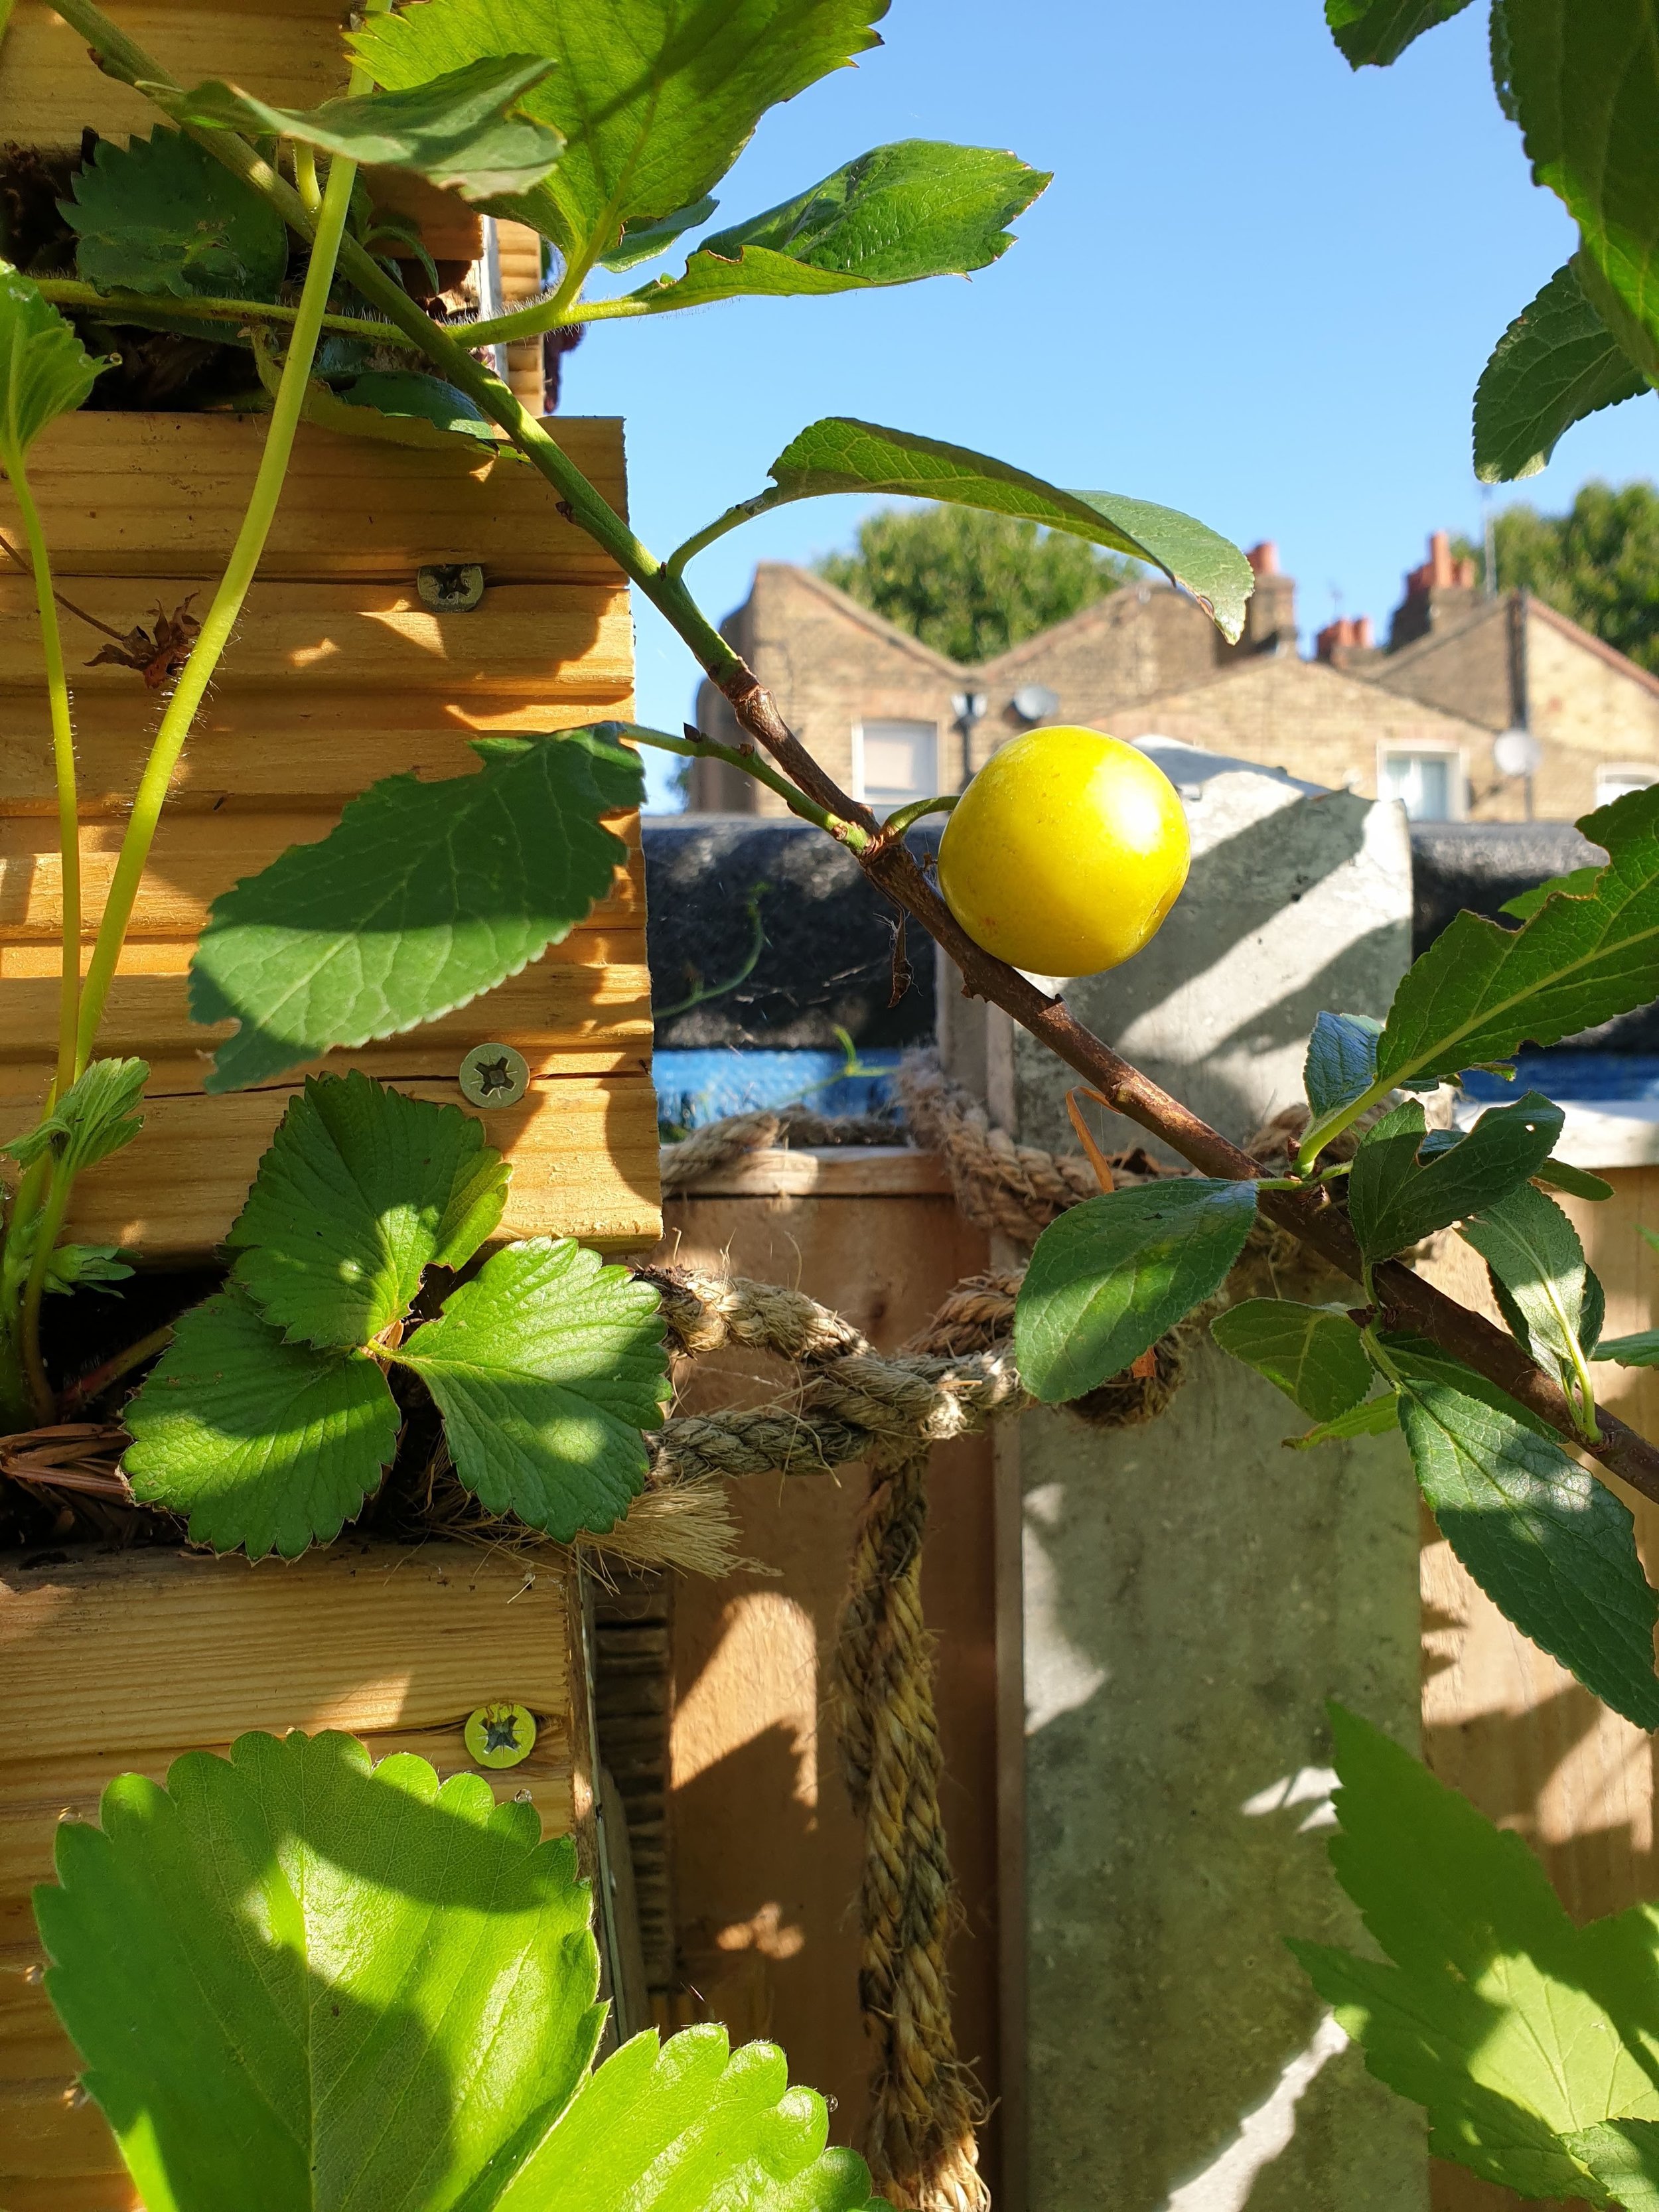
A lot of people expect to buy a tree or patio bush and for it to fruit in the first year. I must admit, this was me in previous years; however, I have learned that it’s best to understand that you won’t likely get fruit in your first year of planting. There are exceptions to this however, as this year, I did manage to grow …wait for it… TWO plums. And a handful of pears. But, generally speaking, I didn’t get fruit from anything else that was planted this year. If you really want fruit on the first year, it’s important to get your trees in the ground before flowering which is March-May, as the flowers will eventually turn to fruit.
The lack of new fruit this year isn’t a failure in my eyes; I know these things take a season or two and, if I can give the tree care now, it will reward me with a heavy crop. This is the reason to start ASAP! Even if you have tiny interest in growing your own fruit, starting now means you only have to do minimal work on year one and reap the rewards from year two onwards!
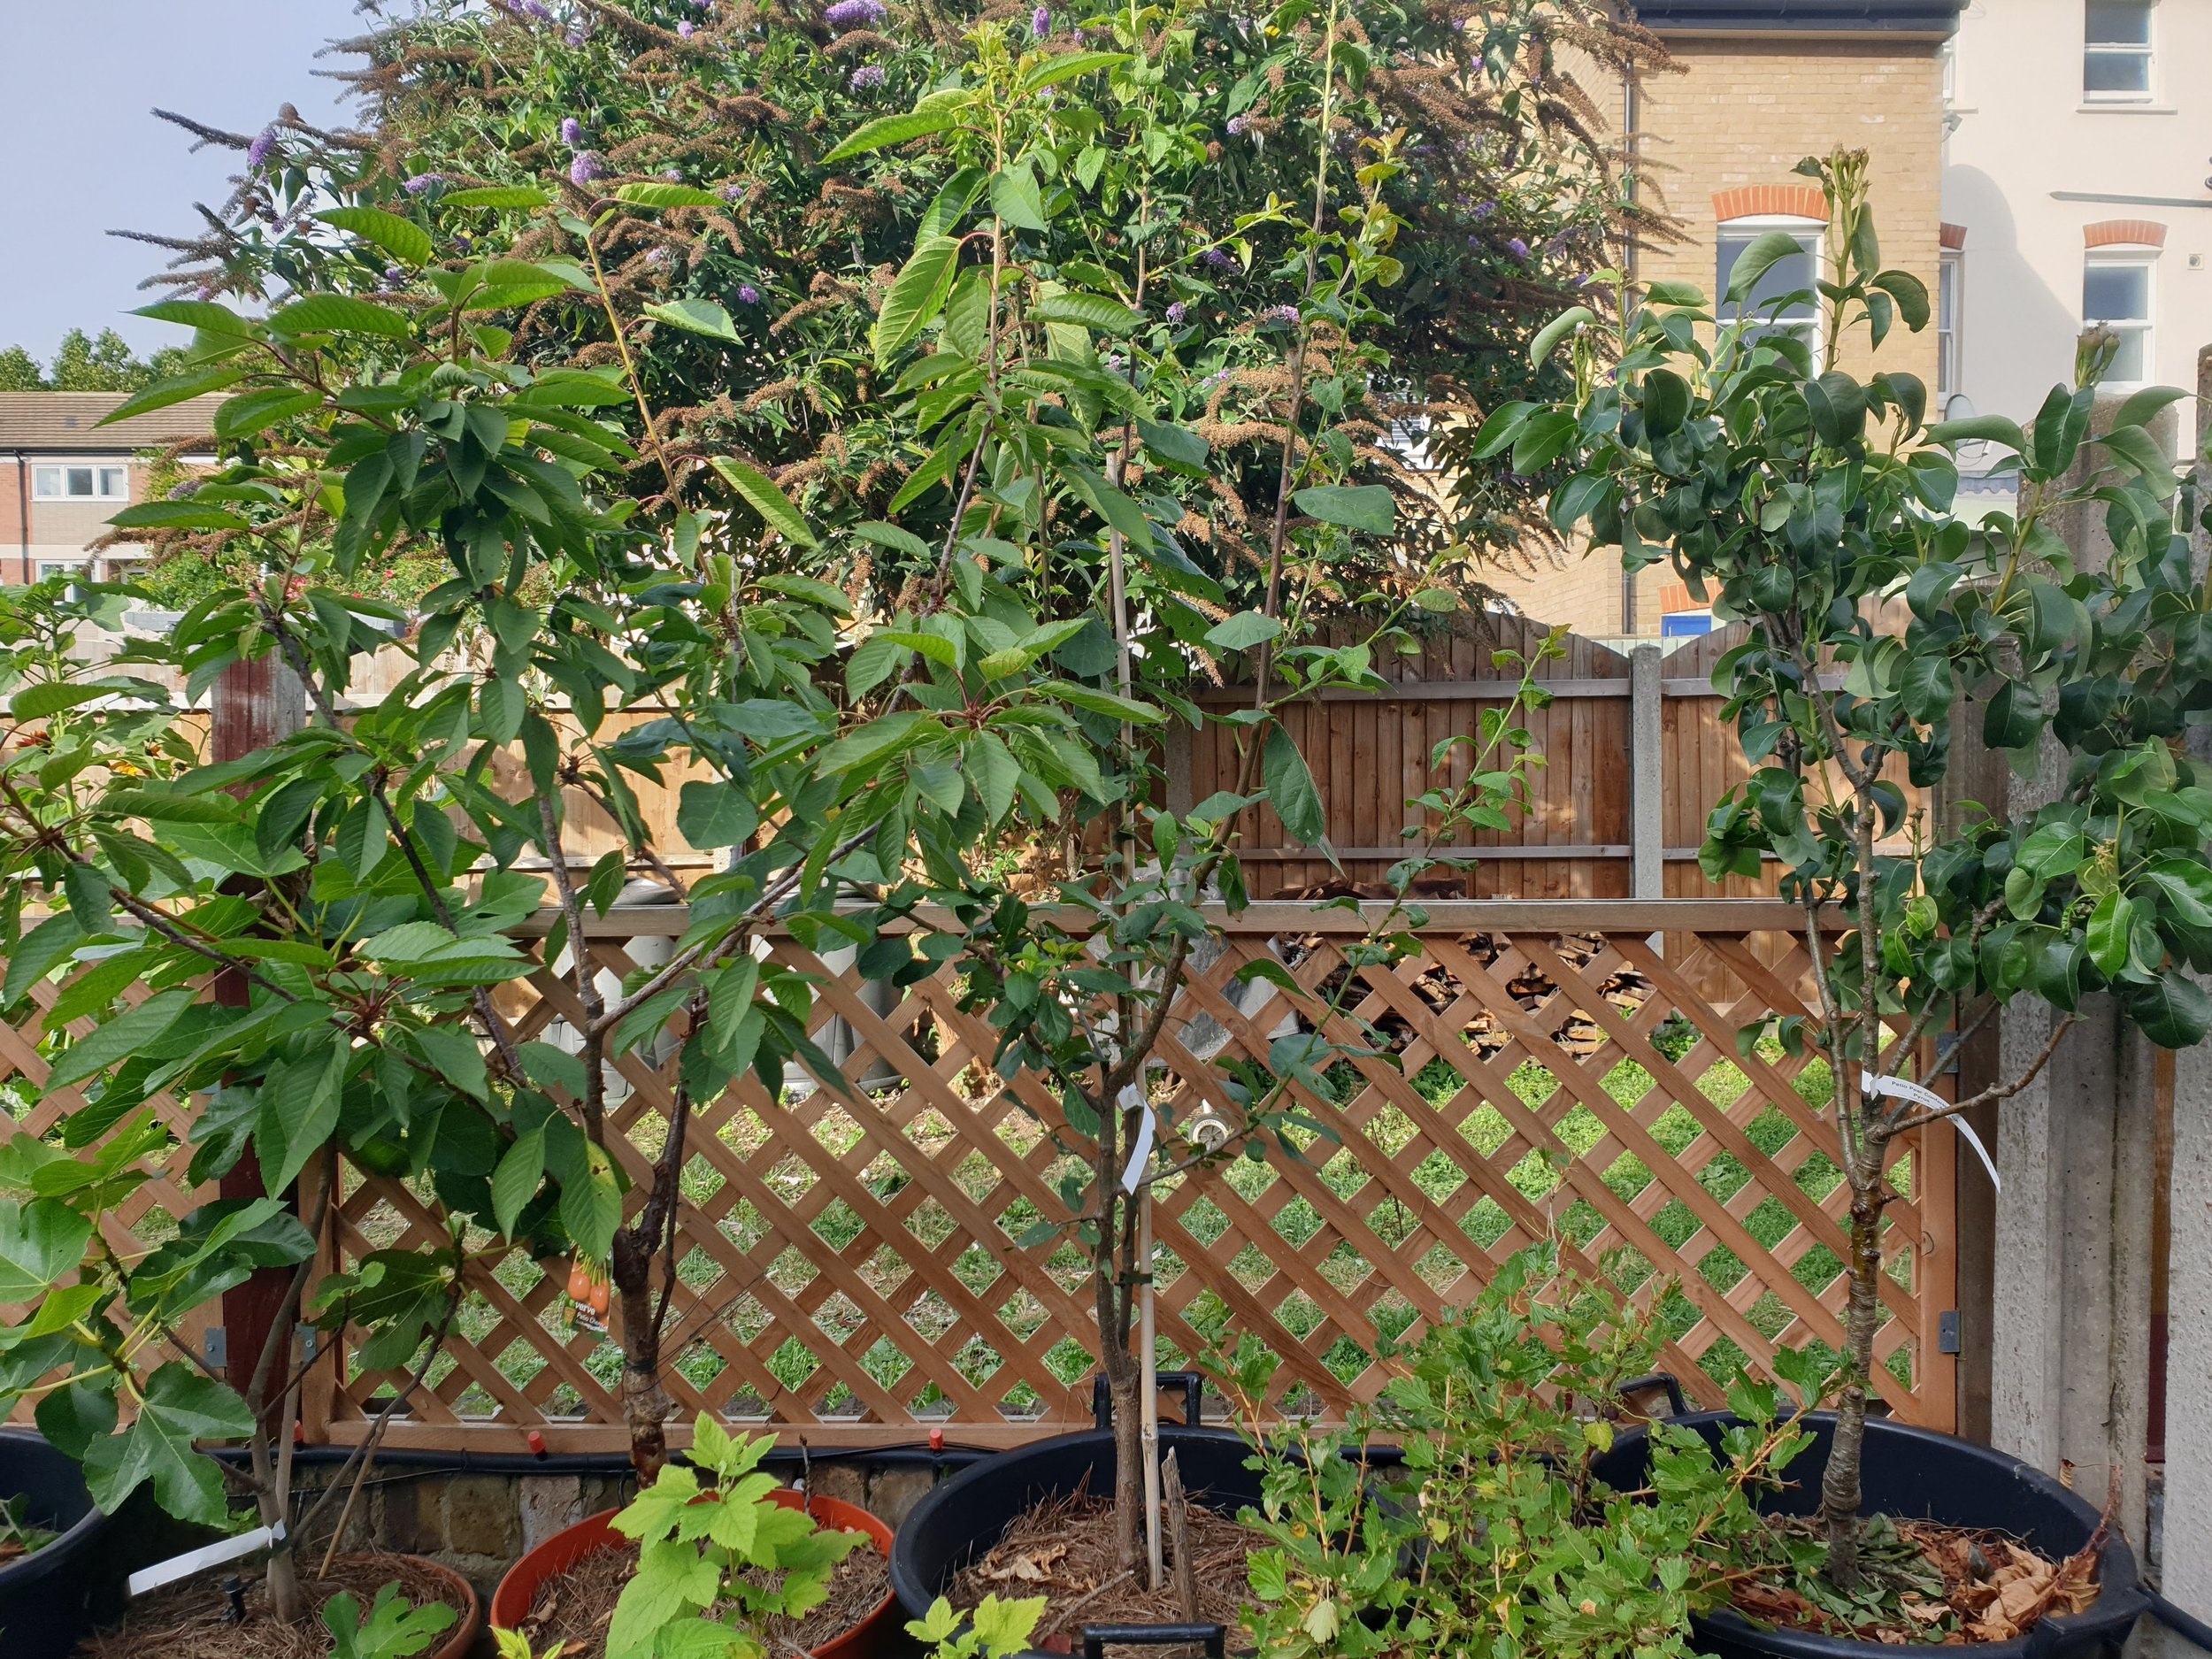
Below: Three trees we planted in Feb 2019, on which we found a couple of fruits the same year.

Growing fruit trees doesn’t have to be hard, and I’ve seen this throughout the year. They are compact, grow well, and I can see how there’s a lot of potential for fruit next year. I live in an urban area in Zone 2 London, in a small space. We’ve had no problem with pollination either, which goes to show you can grow fruit trees with ease. I’ll update my blog soon with updates on how the trees have grown this summer, 2019.
If you have any suggestions of varieties that grow well in you garden please let me know!
Serena